
I started this site after my amazing friend & holistic health coach started working with Rogue on her eczema. She has had this dry skin issue ever since she was born and I just couldn’t stand seeing her in so much discomfort all the time.
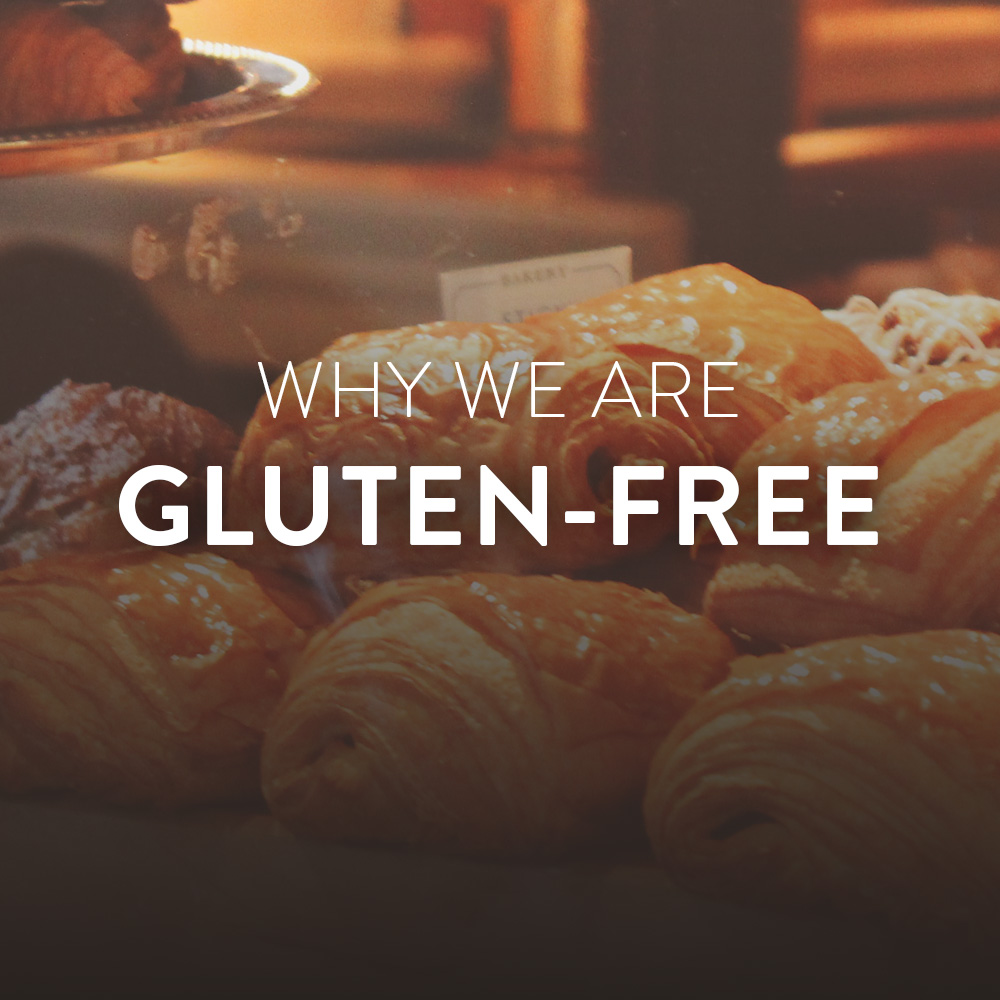
So… we went on a gluten-free diet to clean up her gut, remove any internal inflammatory issues and clear her skin.
The rest of the family also went gluten (and dairy-free), because it was easier (and more fair) to do it that way. Can you imagine having a toddler eat “special” food while her older sister chows down on traditional mac n’ cheese?
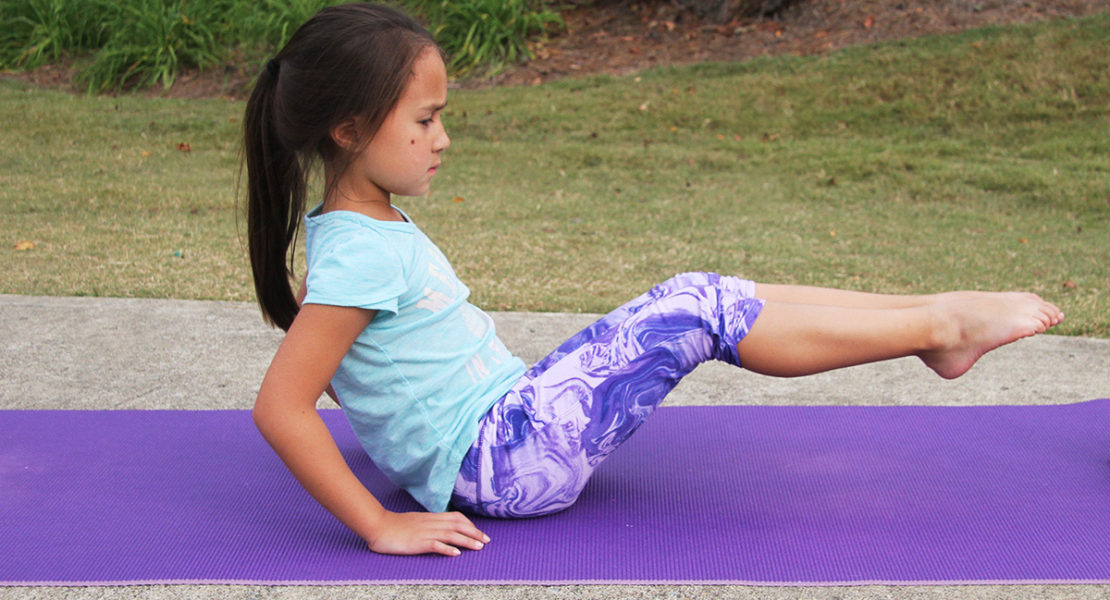
After a couple weeks of this new lifestyle, my daughter’s face cleared up and as a side effect, I lost weight.
Wait, what?
Without putting myself on a diet, I ended up getting healthier and feeling better too.
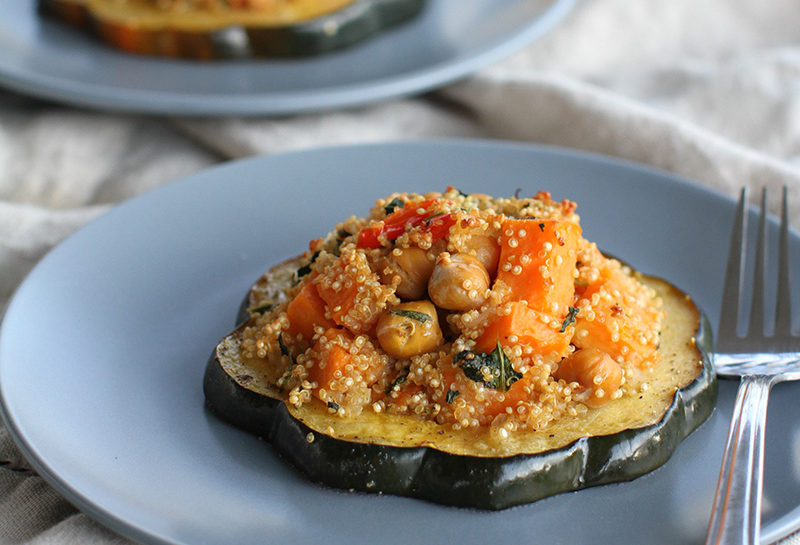
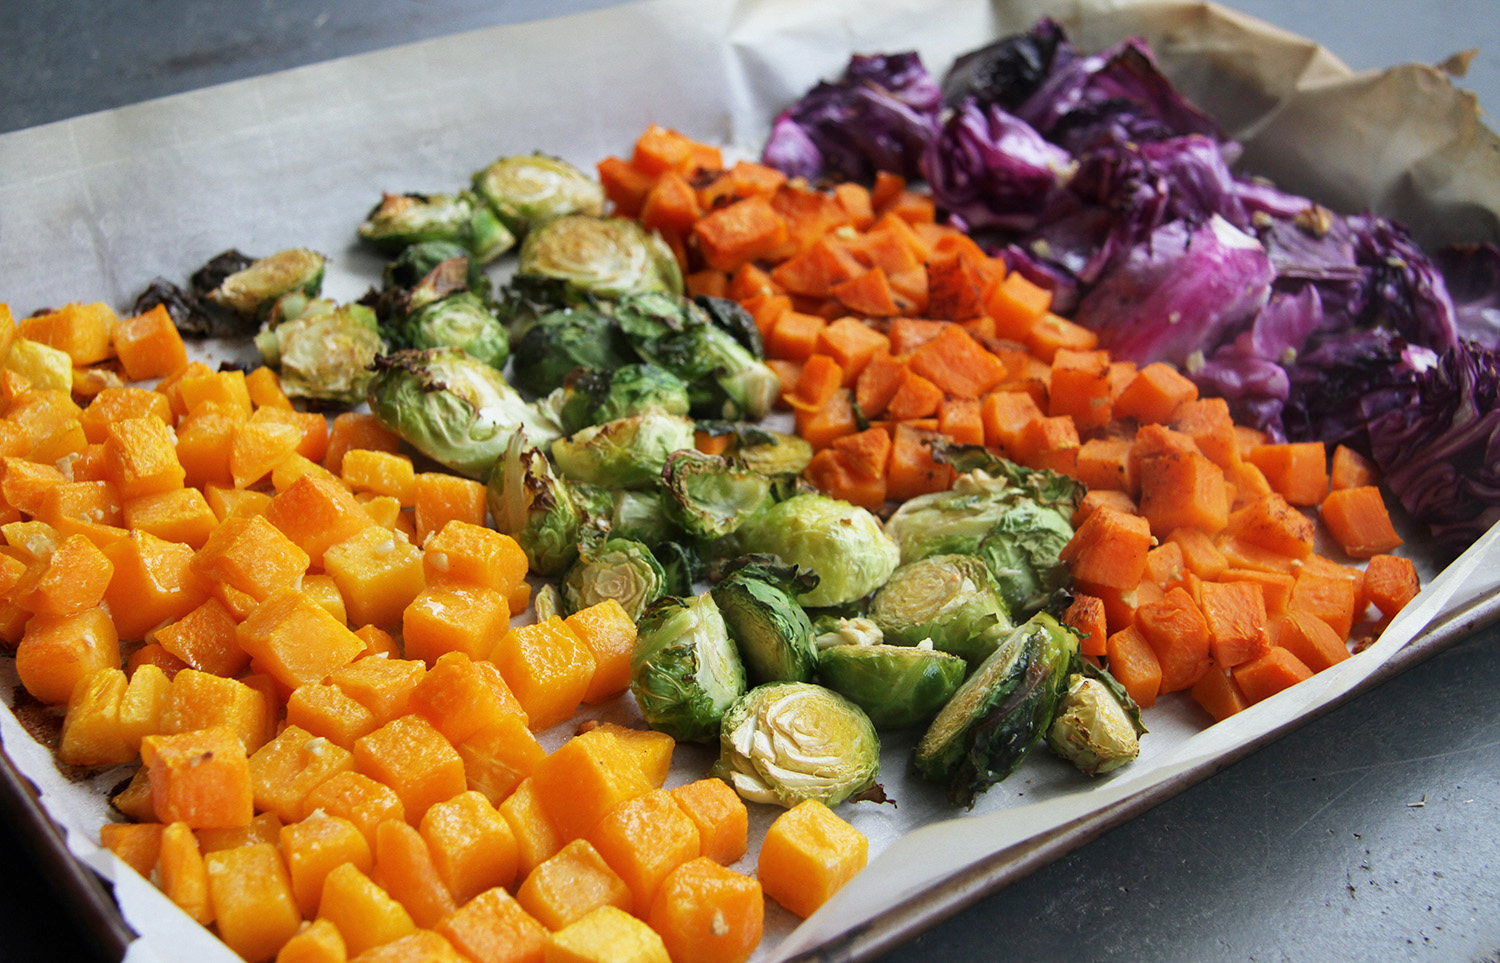
We learned to eat more whole foods and be more conscious of what we were putting into our bodies. After the adjustment period, we realized… this isn’t so difficult after all.
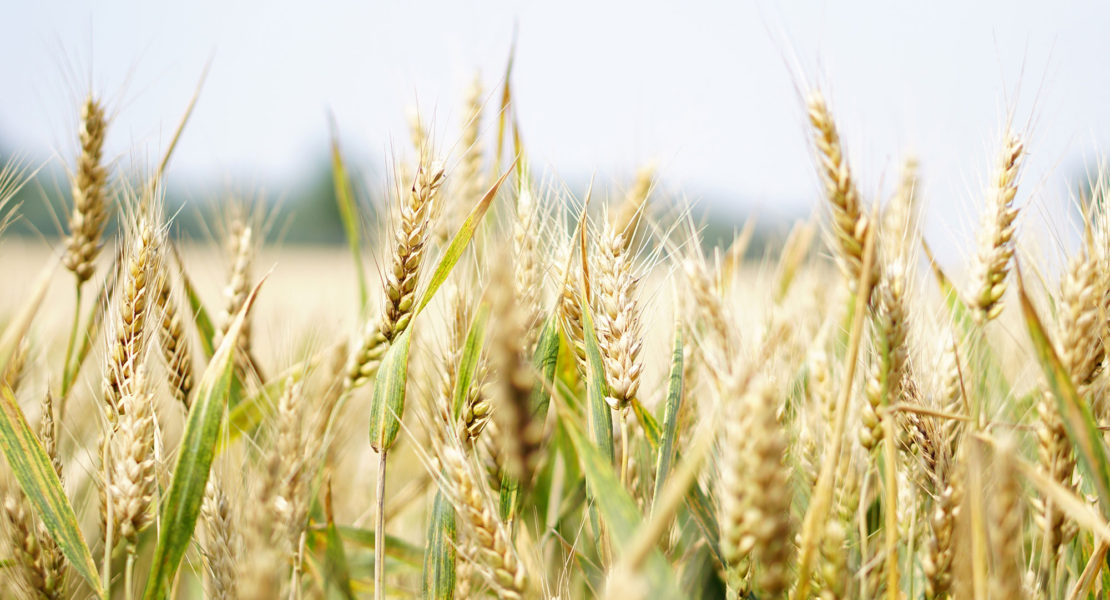
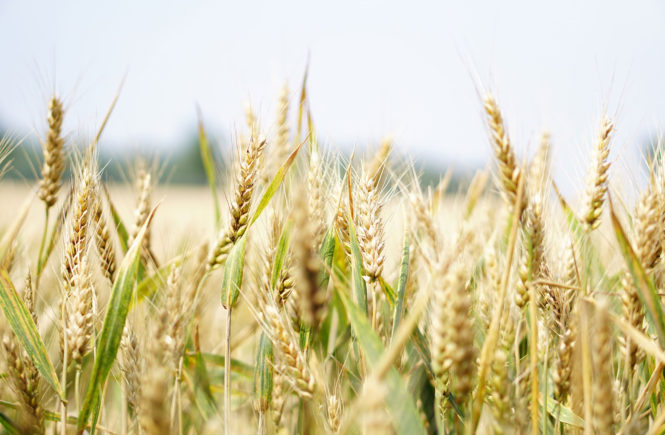
There are various reasons why people usually go gluten free, from celiac disease to autoimmune diseases to simply not feeling quite right, all the time. While certainly not for everyone, reducing your intake of wheat will help you lose weight and get healthier. As long as you replace wheat and bread with fresh vegetables and fruit.
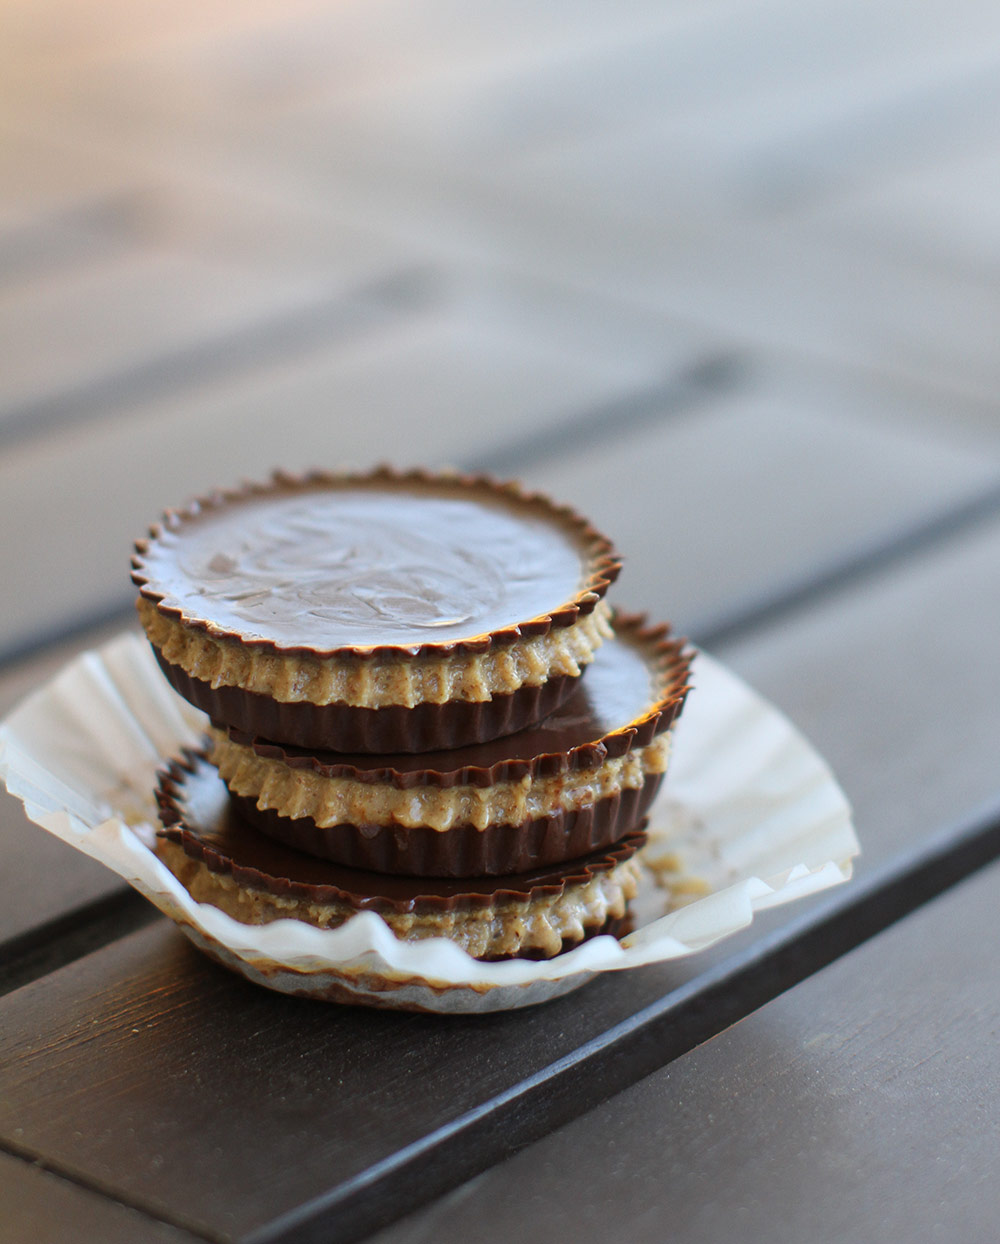
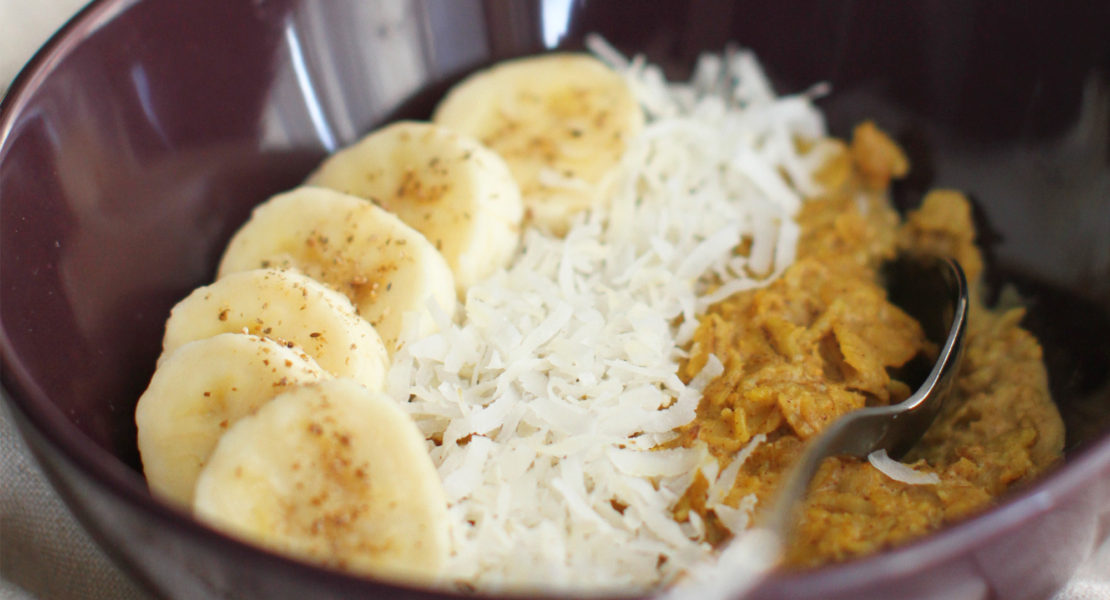
On this site, you’ll find all gluten-free recipes and tips, so I invite you to try the gluten free lifestyle, or at least reducing the amount from your daily nutrition.